Contents
How To Install And Repair Bilge Pump In Home And Office
Bilge pumps are mainly used to extract water accumulated in the bilge. The flow rate of a bilge pump is enough to uphold its excellence. Flow rate is not the only parameter to judge this system. For example, a costly smooth-bore hose utilizes the pump power more efficiently than a corrugated hose. Some of the pumps ensure complete safety which is hard to beat.
How to install a bilge pump?
The bilge pump is an essential part of a yacht, boat, or sailing vessel. This is one of the most costly additions made for the safety of your boat. If you want to cut your expense and the problem of including a third party, read the following steps for a right installation process.
What should you need to install a bilge pump?
Do not install a bilge pump if you lack a basic knowledge of it. The installation process is easy but it’s not recommended for the novices to install on their own. The whole process takes exactly four hours which is a good amount of time! So, you have to keep focused for a fairly long time for finishing the process smoothly.
What tools do you need to install a bilge pump?
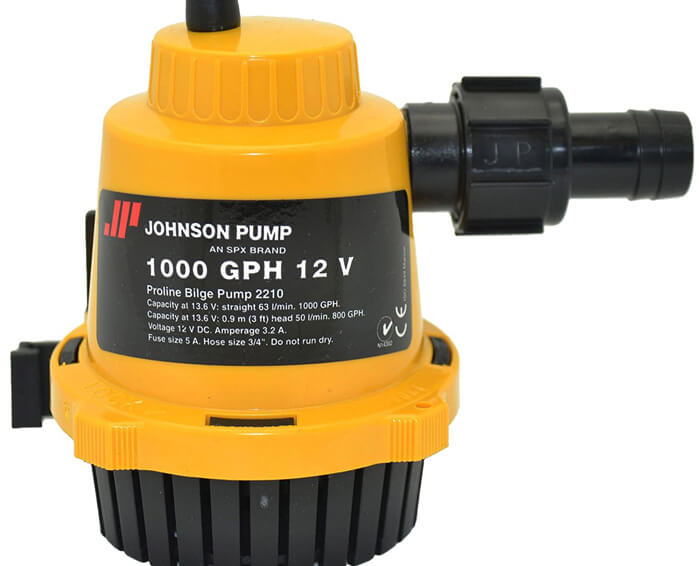
- Non-automatic bilge pump: Johnson 1600
- Automatic float switch: Rule Super Switch
- Reinforced polyester tubing (“clear vinyl hose”): Shields Series 162
- Three-way switches for helm control of pump
- Stainless steel hose clamp
- Through-hull fitting with 90-degree elbow
- Tie wraps
- Nut drivers, screwdrivers, drill, pliers, cutters and wrenches to suit
The installation process
1. Mount the Pump
You will install the backup pump beyond the primary pump and the under cabin sole, batteries, and other critical equipment. You will build a bulkhead-mount bracket as well.
2. Install the Switches
Keep the hinge of the automatic switch forward and install it in a fore-and-aft orientation. It will prevent the switch from cycling due to the pitching boat or water running aft. Then you will install a control switch at forefront. (Bilge pumps are such gears that can be wired straight to the batteries as per the statement of the American Boat and Yacht Council).
3. Plumbing
You need to plumb a hose from the pump to such a point that is 12 inches high from the waterline. It will come back to the discharge fitting and it is beyond the waterline as well. Do not allow any kind of kinks, bends or sags. The “Riser loops” are used to prevent siphoning. A high-pitched bend in the hose can be avoided by using a 90-degree full fitting.
4. Safe Support
In this step, you will tie wraps, and epoxy-gluing plywood for supporting the hose run. The hose run will go to the hull side following the requirement. After that, you will secure the hose to the fittings. It will help the clamps as a result. The electric connects should be established very carefully to ensure waterproofing, fusing, and mechanical integrity.
How To Test And Repair A Bilge Pump?
You need to test the pump system often as a part of maintenance. The best method is to engulf the bilge area with a garden hose or bucket. After the float switch reaches to its “turn on” height, the water should be pumped overboard. The pump needs to be turned off with the lowering of water level.
While doing this test, check the area between the pump to the outlet fitting for any crack or leak of the outlet hose. The outlet hose remains split to allow an amount of water to go back to the bilge area. If you are not satisfied with the performance of the hose, replace it.
In case engulfing the surrounding area of the pump is impractical, lift the float switch and operate the pump after listening to its sound. It works due to the automatic feature of the bilge-pump system. Turn the bilge pump switch on if it is situated at the dash and active the pump after the motor generates a sound. You can also watch for the water to leave the boat.
If the pump does not work on raising the float switch, try it by switching on the dash switch. It may happen due to the defective function of the float switch or the wiring and fuse. Test the float switch’s condition by connecting a fuse between the float switch and the battery and observe if it is blown. You also have to check the connections from the battery, fuse holder to the float switch. The float switch needs to be replaced if the wiring is good. If you want to avoid drilling new holes, simply replace the float switch with a brand new one of the same model.
The bilge pump needs to be replaced if the wiring is in good condition and the pump does not run after lifting up the float switch or turning it at the dash. Try to eliminate drilling new holes at the base of the boat and thus buying a new pump would be a wiser decision. While installing a new pump, keep an eye on the diagram supplied with it. Use waterproof butt splice connectors and fuse holders for wiring the bilge pump.
Conclusion
Check your pump system at times to maintain a good condition. If you cover your boat with canvas, it will ensure the proper working period of your pump and less draining of the battery.
You can check some related one :

Leave a Reply